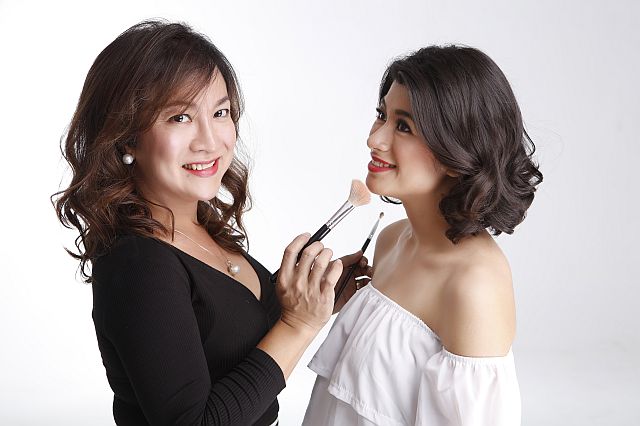
Veteran makeup artist Vanessa Gamus, a favorite for destination weddings, lays down some basic steps (and a few juicy insider tips and products!) to recreate her signature flawless looks for the holidays.
No need to fret if your favorite makeup artist is booked for the rush this season, pick that brush up yourself!
(MODEL: Ericka Lim, a 19-year old golf champion (PAL Interclub Individual Champion and 4-time Alta Vista Cup Ladies Club Champion) and a 3rd year Speech Language Pathology student at Cebu Doctor’s University.)
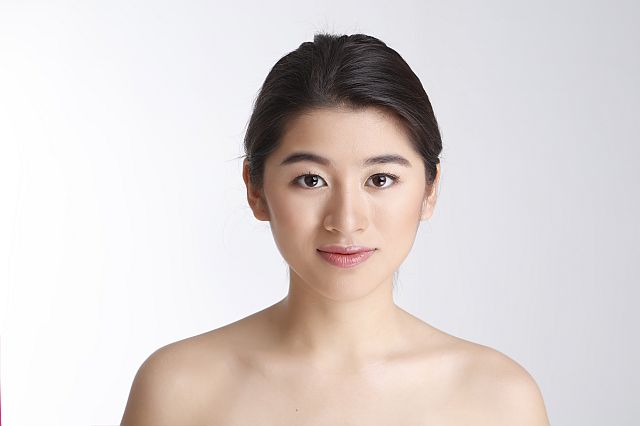
1. After cleaning your face thoroughly with soap and water, apply liquid foundation in small dabs on forehead, both temples, under each eye, chin, laugh lines and cheeks and neck. Blend with a foundation brush or your fingers in upward circular strokes until evenly spread. I used MAC Match Master No. 3 for Ericka.
EXPERT TIP: If your skin is acidic, use foundation one shade lighter than your natural skin tone as it will turn darker when your skin reacts to it. If not, use a color true to your tone. Also, I do not like using concealer under the eyes because it has the tendency to cake and crease, and always show up in an unflattering way in photographs, especially when there is a flash.
2. Set foundation with loose powder using any large brush to
apply all over the face and neck. For this look, I used Ben Nye Luxury Powder in Banana. Powder helps the foundation stick better to the skin and remain matte. EXPERT TIP: A cheap alternative that I like to use? Lewis and Pearl body and face powder does the job!
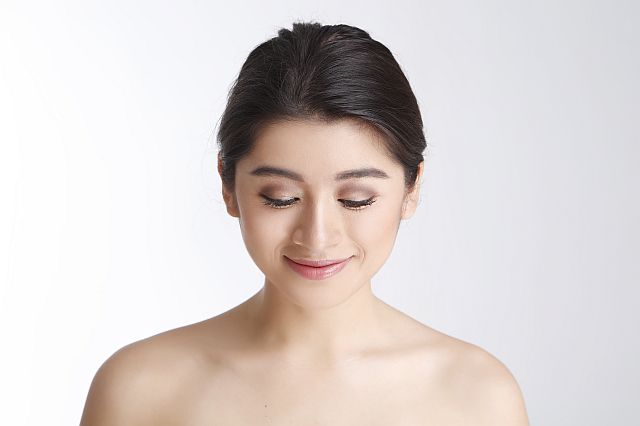
3. Now start on the eye. Begin by applying a light shadow base like Urban Decay Naked Palette 2 in Foxy all over the lid and under the eyebrows which will serve as highlighter, and will later contrast with darker colors to contour the face. Create the illusion of folds (especially for chinita eyes like
Ericka’s) using a darker brown shade starting at the outer lid going inwards but only until the center of the eyelid. I used UB Naked Palette 2 in Snakebite, a matte brown. This serves to contour the eye to give it depth.
EXPERT TIP: Try to apply second coat of color with the eye open so you can see the actual fold and balance both eyes, which are never shaped exactly the same. You cannot see the real symmetry when they are closed. Also, wet the brush a little and pat on a tissue before dabbing into eyeshadow to make the color stick better, like you would when you use watercolor.
4. Add just a little bit of black (Naked 2 in Blackout) to darken just the outer lid, blending inwards just to give a bit more depth.
EXPERT TIP: Make sure to use only small dabs of color and blend inwards following the contour of the eyeball. Most eyes look good with color only on the contour of the eyeball, and not beyond it, unless it is a deliberate retro look you are trying to achieve. HOLIDAY UPGRADE: To jazz this basic look up for evening, layer on MAC Gold pigment on the inner lid, opposite the darkened outer end.
5. For the lower lid, use the same shade on the eyelid (Snakebite) and smudge on just outside the waterline using a thin eyeliner brush.
EXPERT TIP: As much as possible, avoid using black eyeliner or black eyeshadow on your lower lid, as they tend to age the wearer and do not wear well at the end of the night (hello raccoon eyes!). But if you are skilled enough, add only a little bit of Blackout to make the eyes pop. Sparingly!
6. Apply black liquid eyeliner on top of the upper lashline (where your lashes are attached to the eye) to define it, but only if you have steady hands, otherwise use black eyeshadow or a pencil eyeliner, which are easier to wield for first timers.
7. Heat lash curler using the hair dryer, dabbing on your wrist to check tolerable heat level. Then curl your upper lashes, preferably at one go so they curl uniformly. Then apply mascara (Maybelline Falsies) from the middle of the lash going outwards. EXPERT TIP: Use quick side-to-side motion to separate them better, like drawing a zigzag. Two coats is ideal, anything more might look clumpy.
8. To draw eyebrows, I used Jazzy eyebrow pencil in Light Brown and drew from the center of the brows going to the outer tip, lightly following the shape of your natural brows and just filling in the bald spots or gaps between strands of hair. For the inner brow, use matte brown shadow (Kat Von D shadow palette) with an angled eyebrow brush in light strokes, filling in the natural brows. EXPERT TIP: Make sure to smudge out the inner edge of the brow with your fingers or an angled brush so that it does not look too strong, blending it into the rest of the brows and avoid a solid line in the inner brow. And never use black pencil for the eyebrows!
9. For blush (MAC Peaches), always remember to contour first. Smile to reveal your cheekbones and follow the contour of it upwards, making sure to shade all the way up to the skin near the upper attachment of the ear towards the temple. EXPERT TIP: Place also a little bit of blush on the chin and temple, making sure to blend it in nicely. I also like using a frosted blush (MAC Full of Joy) over the blush on the chin and the apple of the cheek, dabbing very lightly for a fresh glow as frosted means a little sheen.

10. Line your lips with NYX 848 Flower to define the shape. Fill it in with MAC Cosmo, a shade similar to the natural lip color for a nice nude lip, perfect to contrast with a darker eye using a lip brush or applying straight from the tube.
HOLIDAY UPGRADE: For evening looks, use a darker shade of red lipstick like MAC Ruby Woo or Russian Red. You can top with a gloss, but since matte is in vogue, you can skip that.
(Vanessa offers one-on-one makeup tutorials at her studio. Check out her work at www.makeupbyvanessagamus.com or call +63 915 939 8574)